
How to Make a DIY Light Box (Three Different Easy Methods!)
Introducing the Ultimate DIY Light Box Solution: Three Easy Methods to Elevate Your Photography Game!
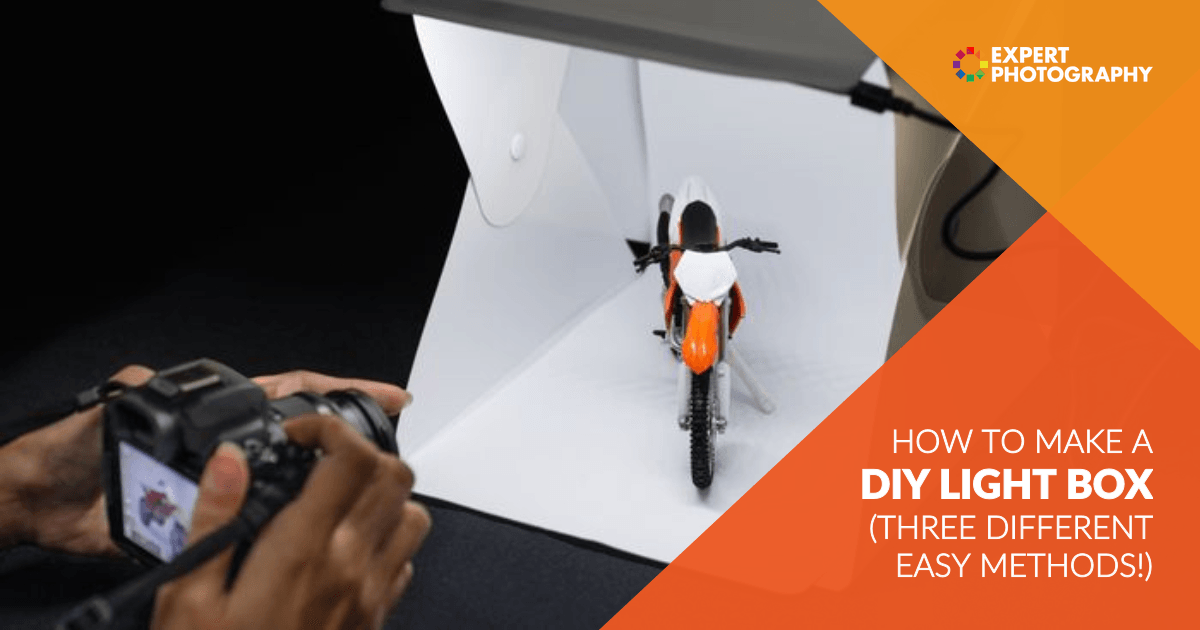
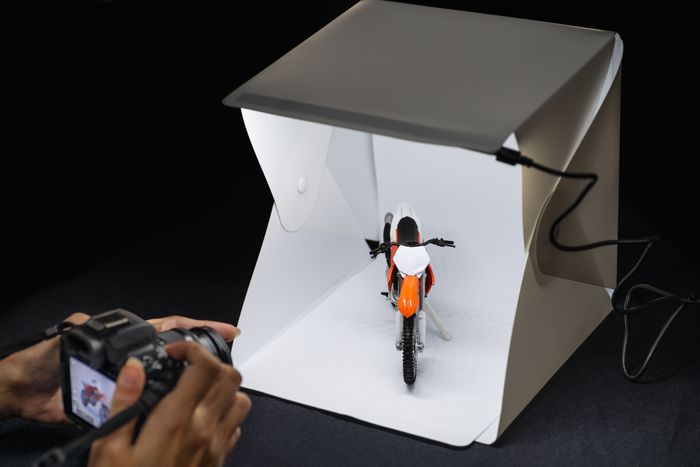
Are you tired of struggling to capture high-quality images of your crafts, small objects, or products? Do you find yourself constantly adjusting lighting settings and experimenting with different backdrops, only to end up with mediocre results? Look no further! Our comprehensive guide will walk you through three simple and affordable methods to create a DIY light box that will revolutionize the way you take photos.
Method 1: The Cardboard Box Wonder
Who says cardboard boxes are just for recycling? With this method, you can transform a humble cardboard box into a makeshift light box. Simply cut out large square openings on three sides of the box and cover these openings with tissue paper or a thin fabric to create a softbox effect. Attach a light source inside the box, such as a lamp or LED strip lights, pointing towards the tissue paper-covered openings. Place your object inside the box, and you’re ready to snap stunning photos!
Method 2: The Sturdy PVC Frame
If you’re looking for a more permanent solution that will withstand repeated use, our second method is perfect for you. Create a sturdy frame using PVC pipes and connectors to form a cube shape. Cover three sides of the cube with diffusing material, such as tracing paper or white fabric, to soften the light. Place your light source outside the cube, aiming towards the covered sides, and you’ll be amazed at how evenly lit your photos will be.
Method 3: The Foldable Design
For those with limited storage space, our third method offers a clever solution. Cut and fold a large piece of foam board into a three-sided box shape. Attach diffusing material to the sides and bottom of the box, creating a unique and portable light box. Install your light source, such as LED light strips, along the sides of the box, and you’ll be ready to capture high-quality photos anywhere!
The Benefits of a DIY Light Box
With these three methods, you can choose the one that suits your preference and the materials you have readily available. Regardless of the method you choose, all three will provide excellent lighting conditions for your photography needs:
Soft, even light that minimizes harsh shadows
Increased depth of field and visual interest
Easy setup and takedown for convenient use
Affordable and eco-friendly materials
Get Started Today!
No matter if you’re an aspiring photographer, an online seller, or a hobbyist, our DIY light box will greatly enhance the visual appeal of your photos. With these simple and cost-effective methods, you’ll be able to take stunning images that showcase your crafts, products, or small objects in the best possible light. So why wait? Start building your DIY light box today and discover the world of difference it can make in your photography skills!


There are no reviews yet.